Training
How to Start Calisthenics: A Repeatable Beginner Plan
Start calisthenics with baseline movement checks, a repeatable full-body plan, clear progression rules, video review, and practical safety limits.
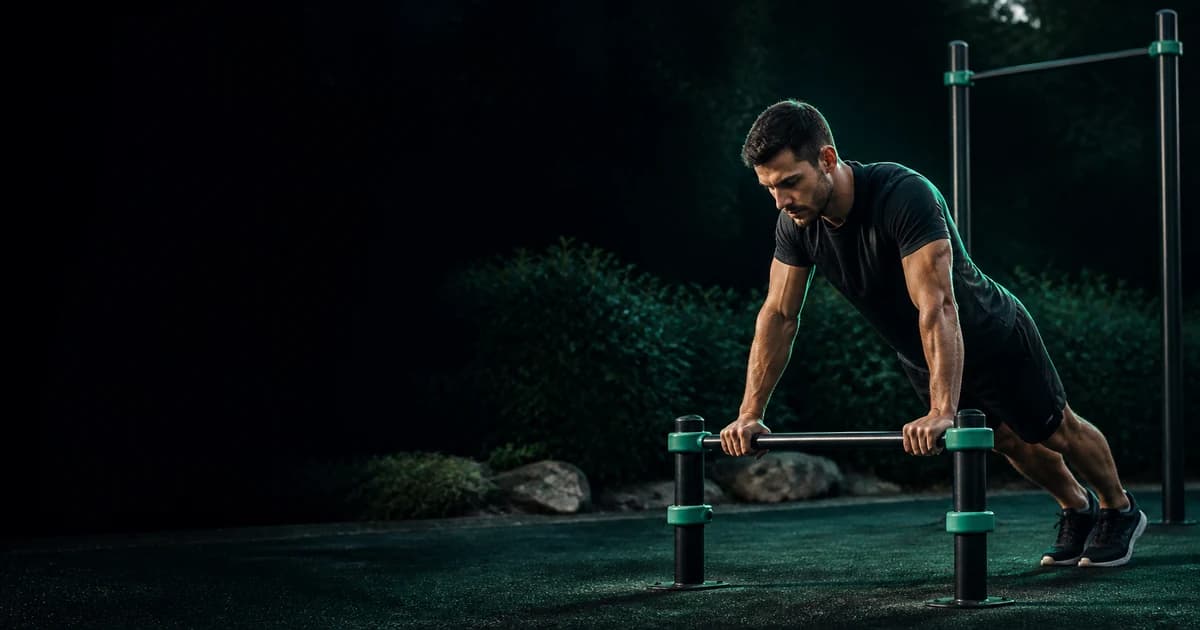
Start calisthenics with two or three non-consecutive full-body sessions each week. Choose push, pull, leg, and trunk exercises that you can repeat through a comfortable range without losing control. Record baseline sets, change one variable at a time, and use several sessions of consistent evidence before advancing. You do not need to attempt muscle-ups, levers, planches, or unsupported handstands to begin.
Start with five movement checks
Treat your first session as an observation session, not a test of maximum strength. Warm up gradually, then perform a small number of comfortable repetitions in each pattern.
Stop each check while you can still control the movement. The goal is to select useful starting variations, not to discover how much discomfort or fatigue you can tolerate.
1. Push
Try a wall push-up, a high incline push-up, or a floor push-up.
Observe:
- Whether your hands remain planted
- Whether your elbows follow a repeatable path
- Whether your trunk and pelvis move together
- Whether you can reach a consistent depth
- Whether the final repetition resembles the first
Move to a higher incline if your hips sag, your shoulders rise toward your ears, or your range shortens sharply between repetitions.
2. Pull
Use an assisted row, an inverted row with a high bar, or an assisted pull-up. Make sure the bar, rings, or support can safely hold you before loading it.
Observe:
- Whether both arms begin and finish together
- Whether your grip remains secure
- Whether your shoulder and elbow paths stay consistent
- Whether you control the lowering phase
- Whether you change your body angle to complete later repetitions
If you are learning vertical pulling, use the pull-up form check to review the movement before adding repetitions.
3. Squat
Try a supported squat while holding a stable post, rail, or suspension strap.
Observe:
- Whether your feet remain planted
- Whether your knees track consistently
- Whether your balance shifts abruptly
- Whether you can pause without collapsing
- Whether you can stand without pushing through your hands excessively
Use only as much depth as you can control. A deeper squat is not automatically a better starting variation.
4. Split stance
Try a supported split squat with one hand near a stable support.
Observe:
- Whether you can maintain your stance width
- Whether the front foot stays planted
- Whether your torso remains reasonably consistent
- Whether one side requires a different range or level of assistance
Visible side-to-side differences identify something to monitor. A video cannot tell you why the difference exists.
5. Trunk control
Try a dead bug, short plank, or elevated plank.
Observe:
- Whether your position changes before the planned time ends
- Whether you can breathe continuously
- Whether your shoulders and pelvis remain controlled
- Whether shaking increases as fatigue builds
Breath-holding, effort, and shaking do not have one universal meaning. Record them as context instead of treating them as proof that a variation is correct or incorrect.
Choose your starting level
Use the easiest variation that still asks you to work while preserving a repeatable range and position.
| What you observe | Decision for the next set | Variable to change |
|---|---|---|
| Range and position remain consistent | Repeat the same variation | None |
| Final repetitions shorten or speed up | End the set earlier | Repetition count |
| You cannot control the lowering phase | Make the exercise easier | Leverage or assistance |
| You complete every repetition comfortably across several sessions | Test a small progression | One variable only |
| One side visibly moves differently | Reduce difficulty and compare both sides | Range, assistance, or setup |
| Sharp, sudden, or increasing pain occurs | Stop that movement | Do not progress it |
You can scale most beginner exercises in four ways:
- Leverage: Raise your hands for a push-up or stand more upright during a row.
- Range: Use a smaller comfortable range, then expand it only when control remains consistent.
- Assistance: Use a stable support, band, or foot position to reduce the required force.
- Volume: Reduce repetitions, hold time, sets, or session frequency.
Change only one of these variables when you test a progression. If you lower the push-up incline, add repetitions, and add another set simultaneously, you will not know which change caused a technique breakdown.
Use a simple first-week plan
Begin with two full-body sessions if bodyweight resistance training is new to you. Add a third session only when you can recover between sessions and repeat your selected movements without a clear loss of control.
General public-health guidance recommends regular muscle-strengthening activity alongside aerobic activity. It does not require beginners to train hard every day. Current ACSM guidance also emphasizes consistent resistance training rather than unnecessary program complexity.
Session A
- Incline push-up: 2 sets
- Assisted row: 2 sets
- Supported squat: 2 sets
- Dead bug or elevated plank: 2 sets
- Optional skill practice: 5 minutes
Session B
- Incline push-up or easier variation: 2 sets
- Assisted pull-up or assisted row: 2 sets
- Supported split squat: 2 sets per side
- Short plank or dead bug: 2 sets
- Optional skill practice: 5 minutes
Leave at least one day between these sessions during your first week. Select repetition ranges that let you stop before your positions deteriorate sharply. For holds, end the set when you can no longer maintain the position you chose to practise.
Walking, cycling, and other suitable aerobic activities can complement the plan. The World Health Organization recommends that adults accumulate regular moderate or vigorous physical activity and perform muscle-strengthening activities on two or more days per week. Your health, current activity level, disability status, and medical guidance may affect how you apply those general targets.
Apply the observe, decide, revise method
Use the same three-step process after every working set.
Observe
Write down facts that you could verify from the recording or training log:
- Exercise variation
- Assistance or equipment used
- Repetitions completed
- Hold time
- Range reached
- Rest period
- Camera angle
- The repetition where a visible position changed
Keep sensations and circumstances in a separate note:
- Perceived effort
- Fatigue before the session
- Pain or discomfort
- Fear or hesitation
- Intended muscle action
- Sleep, illness, or previous training
- Resistance supplied by a band
- Conditions outside the frame
This separation matters because a recording shows visible motion from one viewpoint. It cannot establish your intent, internal muscle force, exact band resistance, fatigue level, pain severity, medical status, or what happened outside the frame.
Decide
Choose one response:
- Repeat the exercise unchanged
- Reduce repetitions
- Increase assistance
- Shorten the range
- Change the setup
- Test one small progression
- Stop the movement and seek appropriate help
Base the decision on repeated evidence when no immediate safety concern exists. One awkward repetition does not always justify rebuilding the entire plan.
Revise
Apply the selected change to the next set or session, then record under comparable conditions. Do not make five corrections at once. A single cue gives you a cleaner comparison.
The site methodology explains how to separate visible observations from interpretation when reviewing recorded movement.
Film sets that you can compare
Place the camera far enough away to capture your hands, feet, and full range. Stabilize it on a tripod or secure surface. Do not ask someone to stand where the equipment or your body could strike them.
Use these angles:
- Side view: useful for general trunk position, depth, and horizontal movement
- Front or rear view: useful for visible left-to-right differences and stance consistency
- Diagonal view: useful when a strict side view hides hand, foot, or joint paths
Keep the camera height, distance, exercise setup, assistance, and intended range similar between comparison clips. Record one ordinary working set rather than only your best attempt.
Lighting and clothing should make your outline visible without restricting movement. Check that the camera does not crop the support point, feet, or finish position.
A single camera angle can hide rotation, depth, or the position of a distant limb. If a detail matters, record a second set from another angle instead of guessing. The calisthenics video analysis guide provides a fuller recording and review process.
After you have established a controlled baseline, record one representative set and review it with Calisthenics AI. The app reviews recorded calisthenics movements and provides technique feedback, tracks bodyweight progressions, strict repetitions, and hold times, and includes a training log and structured workout plans. For your next action, select one visible correction from the review and test only that correction in the following set.
Worked example: progressing an incline push-up
Suppose you complete two sets of eight push-ups with your hands on a kitchen counter.
Your side-view recording shows:
- The first six repetitions use a consistent range
- Your hips drop during repetitions seven and eight
- The final two lowering phases become noticeably faster
- Your hands and feet remain in the same positions
Your notes say the set felt difficult, but the recording cannot verify that sensation. Treat it as useful context, not visible proof.
Decision
Keep the same incline. Reduce the next set to six repetitions and focus on controlling the lowering phase.
Revision
At the next two sessions, record the same angle with the counter, hand position, and foot position unchanged. If all six repetitions remain consistent, repeat six or add one repetition. Do not lower the incline at the same time.
After several consistent sessions, test a slightly lower stable surface for one set. If the lower incline causes an immediate loss of range or trunk control, return to the counter. That result is information, not failure. It tells you that the previous variation still provides the more repeatable training dose.
Use the same process for rows, squats, and holds. For a hold, increase time only if the recorded position remains recognizable through the full interval. If you later want to develop a specific skill, follow a progression designed for it, such as the L-sit progression or pistol squat progression.
Add skill practice without replacing basic training
Skills can make early training interesting, but they should not consume every session. Choose one suitable skill and practise it for a few minutes while fresh.
A supported handstand line drill, tucked support, or basic hanging position may fit, depending on your current capacity and environment. Use the handstand line analysis guide if you practise supported inversions.
Keep advanced progressions separate from your beginner strength work. A short attempt at a front lever or muscle-up does not measure general readiness. Each skill has specific demands, and a recording cannot establish whether your connective tissues have adapted to them.
Common beginner errors
Starting with an advanced skill
A brief, uncontrolled attempt provides little repeatable training evidence. Begin with scalable patterns and add skill-specific work gradually.
Treating every set as a maximum test
Maximum attempts make comparisons difficult because fatigue changes the later repetitions. Use ordinary working sets for most reviews.
Advancing from one successful set
A single set may reflect a favourable setup, extra rest, a shorter range, or a different camera angle. Look for consistency across several sessions.
Changing several variables together
More repetitions, less assistance, extra sets, and a harder variation create an unclear result. Progress one variable at a time.
Counting partial repetitions as full repetitions
Define the intended start and finish positions before the set. Record shortened repetitions separately instead of changing the standard after fatigue appears.
Copying another person’s range
Body proportions, mobility, experience, equipment, and health context differ. Choose a comfortable range you can control and compare against your own baseline.
Treating video as a diagnosis
Video can show movement. It cannot identify an injury or explain pain. Do not use a visual review to diagnose yourself.
Ignoring the environment
Inspect bars, rings, bands, anchors, floors, benches, and supports before training. A progression is not appropriate if the setup is unstable.
Know when to stop or seek help
Stop a movement if you experience sharp, sudden, increasing, or otherwise concerning pain. Do not use a technique cue to push through it. New neurological symptoms, faintness, chest pain, severe shortness of breath, or an acute injury require appropriate medical attention.
If discomfort persists, recurs, changes your daily movement, or leaves you uncertain about safe participation, consult a qualified healthcare professional. A qualified coach can help with exercise setup and technique, but coaching and recorded feedback do not replace medical assessment.
Use extra caution with inversions, high bars, unstable supports, ballistic repetitions, and exercises where a failed repetition could cause a fall. Train within a clear area and use suitable assistance or spotting where appropriate.
Final beginner checklist
Before your first training week:
- Choose two non-consecutive full-body training days
- Inspect every support, anchor, band, bar, and training surface
- Select one controlled push, pull, leg, and trunk exercise
- Define the intended range or hold position
- Keep advanced skill practice short and appropriate to your level
During each set:
- Stop before control deteriorates sharply
- Record only when the camera and training area are secure
- Keep visible observations separate from sensations and assumptions
- Note repetitions, hold time, assistance, and setup
- Stop if pain or another concerning symptom appears
After each session:
- Choose one decision for the next session
- Change only one progression variable
- Compare clips recorded under similar conditions
- Look for consistency across several sessions
- Keep a variation easier when it produces clearer, more repeatable movement