Progressions
Pistol Squat Progression: From Assisted Reps to a Controlled Full Squat
Progress from a supported single-leg squat to a controlled pistol with clear depth, balance and video checkpoints instead of forcing the final position.
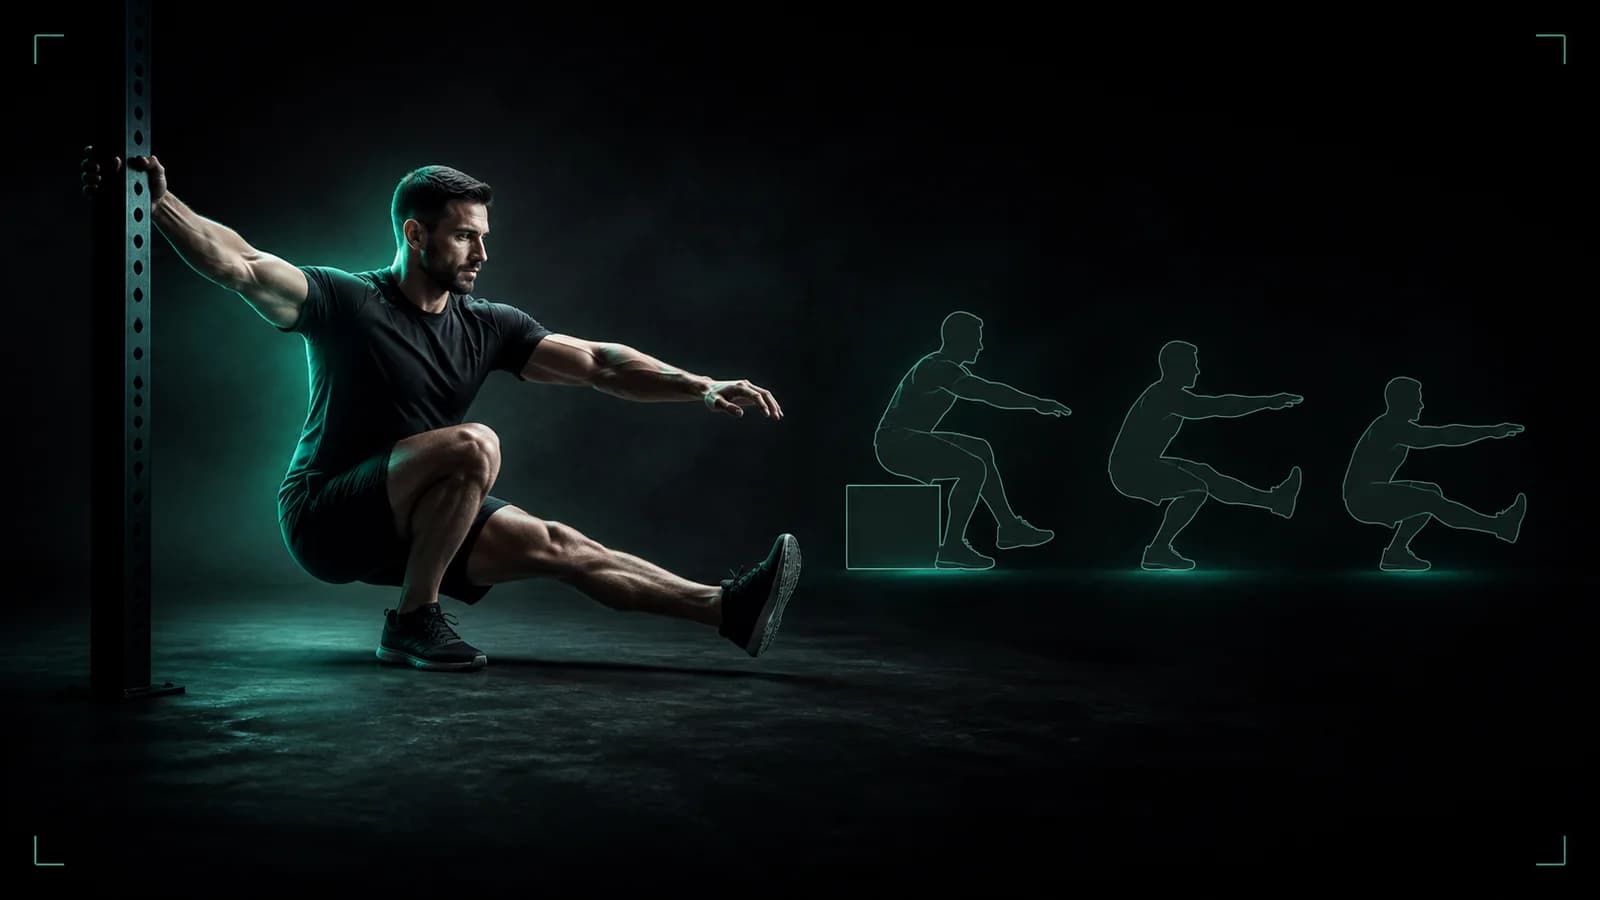
Build a pistol squat by earning control through a range you can repeat. Start with a supported single-leg squat, lower the support or box gradually, add a counterbalance when useful, then practise the full rep only when you can keep the foot planted and stand without collapsing or twisting.
This is general training information, not rehabilitation or medical advice. Stop if you feel pain, instability or symptoms that concern you, and work with a qualified professional when injury, surgery or a health condition affects the movement.
Check the positions first
Before you load a deep single-leg squat, check whether you can:
- balance on one leg without gripping the floor in panic;
- squat on two legs with the foot planted;
- control a step-down from a low surface;
- hold the free leg far enough forward to clear the floor;
- use a support without pulling your whole body upward.
You do not need perfect symmetry. You need a starting variation you can repeat under control.
Stage 1: supported single-leg squat
Hold a post, strap or stable rail with one or two hands. Shift onto one foot, extend the other leg, and descend only as far as you can keep the stance foot planted. Use the support for balance and a small amount of assistance.
Keep the knee travelling in the same general direction as the toes rather than collapsing sharply inward. Let the torso lean enough to balance; a pistol squat does not require an upright torso.
Stage 2: box pistol
Sit to a box or bench that lets you reach a consistent depth. Touch down under control without dropping, then stand using the same foot position. Lower the box only after you can repeat the current height.
If you rock aggressively to stand, raise the box or add light support. Momentum can hide the range you cannot yet control.
Stage 3: counterbalanced pistol
Hold a light plate or object in front of you. The counterweight can let your hips travel back while the whole system stays balanced over the stance foot. Treat it as a teaching variation, not a failure.
Reduce the counterweight gradually, or keep it if that version serves your training. The unweighted pistol is one expression of the skill, not a universal requirement.
Stage 4: full controlled rep
Start tall, extend the free leg, and descend smoothly. Keep the full stance foot in contact with the floor. Reach the deepest position you control, pause briefly if appropriate, then drive through the foot and stand without using the other leg.
Do not force depth by falling into the bottom. A controlled partial rep gives you clearer training than a deep rep you cannot reverse.
Fix the limiting part
| What you see | Variation to test |
|---|---|
| Heel lifts | Raise the box, use support and assess ankle range with a qualified coach |
| Knee falls inward | Reduce depth and slow the descent |
| You fall backward | Add a counterbalance or stable support |
| Free foot hits the floor | Raise the box or train a comfortable free-leg position |
| You drop into the bottom | Use a higher box and a slower lowering phase |
Do not diagnose the cause from one video. Ankle motion, limb proportions, strength, balance and technique can produce similar-looking misses.
Plan volume you can recover from
Use low-repetition sets while the skill stays precise. Rest long enough to repeat the same balance and depth. Train both sides, but do not force identical depth when one side has pain or a known restriction.
Progress one variable at a time: slightly lower support, slightly lower box, less counterweight or one more controlled rep. Avoid changing all four in the same session.
Review progress in Calisthenics AI
Film from a side-oblique angle at knee-to-hip height. Keep the full stance foot, knee, hips and free foot visible. Use the same box height and support for comparisons.
Open Calisthenics AI, log the variation and review alignment, range of motion and control across several reps. Use Coach Alex's feedback to choose one next progression. The app cannot assess pain, joint health or every reason a position changed, so use a qualified coach or clinician when those questions matter.
A simple progression rule
Stay with a variation until you can repeat the intended depth and balance across several sessions. Then make one small change and record again. The goal is not to reach the floor quickly. The goal is to own the descent and stand you practise.