Skills
Planche Progression: Build the Lean Before the Hold
Progress from planche leans to tuck variations with straight arms, active shoulders, measured holds, and clear readiness checks.
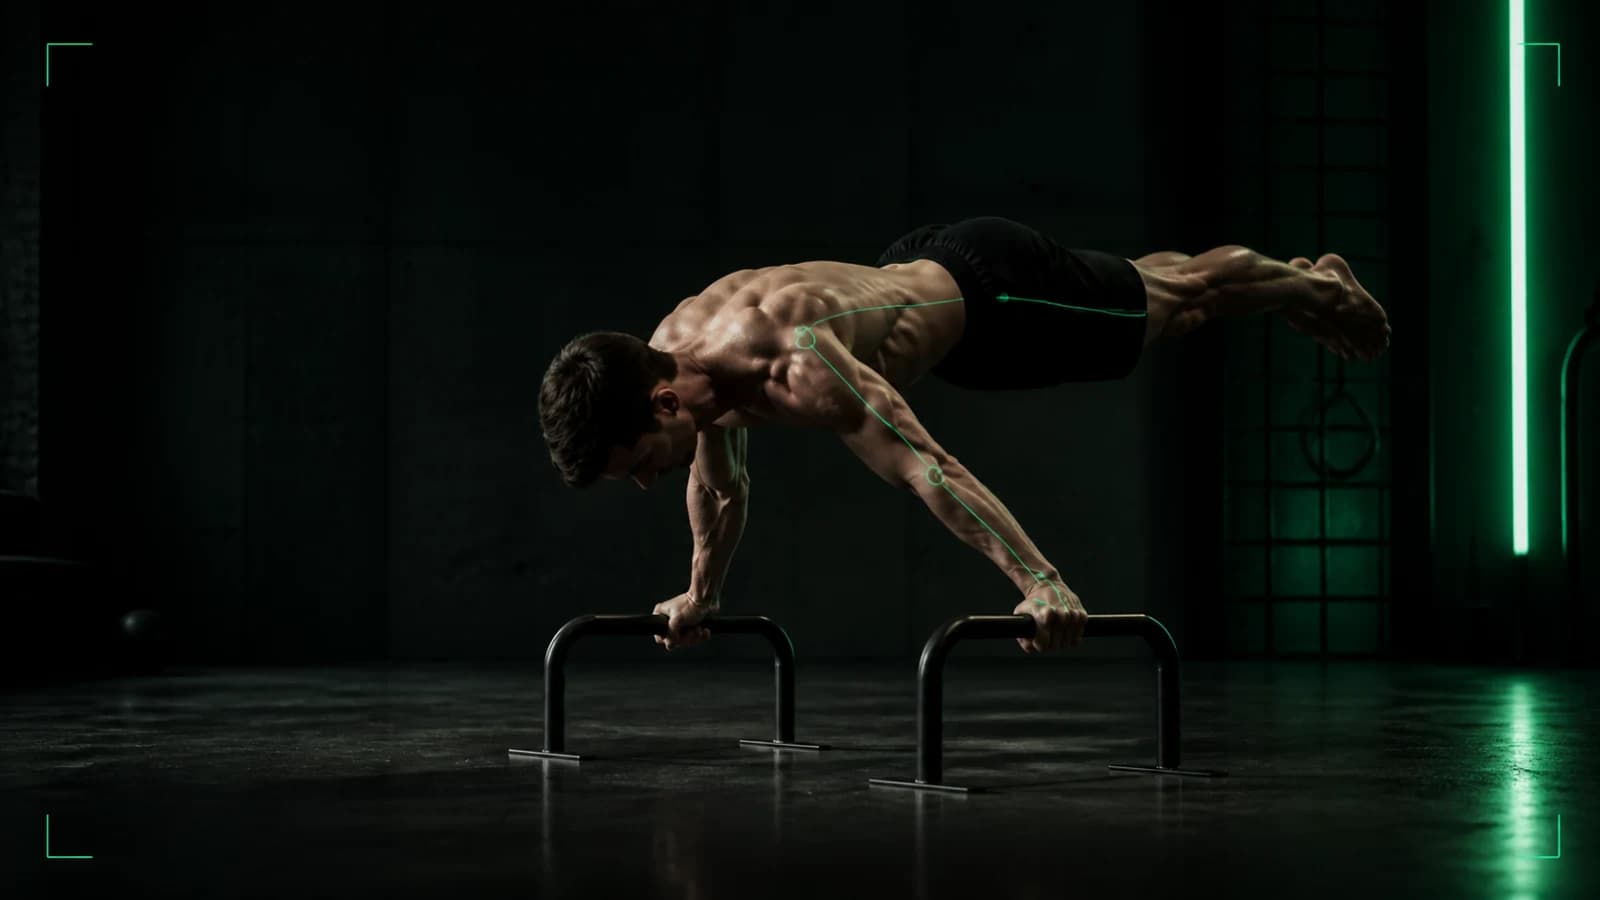
A useful planche progression starts with straight-arm support and a controlled forward lean, then moves through feet-assisted leans, frog or tuck supports, advanced tuck work, and only later longer-body variations. Move forward when you can hold the current shape without bent elbows, collapsed shoulders, or a sudden loss of control. The next progression is not the one that looks hardest; it is the one you can repeat cleanly.
The planche places high demands on the wrists, elbows, and shoulders. Warm up, use suitable equipment, stop if you feel pain, and work with a qualified coach or clinician when you have an injury or joint concern.
The shape that every progression keeps
Push the floor away. Keep the elbows locked without forcing them past their normal range. Spread the shoulder blades by actively protracting the shoulders, brace the trunk, and keep the hips from sagging.
The legs change leverage, but these checkpoints stay:
| Checkpoint | Clean rep | Regression signal |
|---|---|---|
| Hands | Stable pressure through palm and fingers | Wrist pain or fingers lifting uncontrollably |
| Elbows | Straight from entry to exit | Bend as feet leave the floor |
| Shoulders | Pushed forward and apart | Chest drops between the arms |
| Pelvis | Held with the trunk | Hips sag or pike sharply |
| Exit | Feet return under control | Athlete drops or twists out |
Stage 1: straight-arm support
Use parallettes or the floor. Lock the elbows, push tall through the shoulders, and hold a stable support with the feet lightly assisting. Learn to shift pressure into the fingers as the shoulders move forward.
If the wrists limit the floor position, parallettes can reduce wrist extension. They do not remove shoulder or elbow load, so keep the same controlled entry and exit.
Stage 2: planche lean
From a high plank or feet-assisted support, move the shoulders forward past the hands while the elbows remain straight. Keep the toes on the floor and stop the lean before the shoulders collapse.
Mark hand and shoulder positions or film from the side. Progress by making the same shape slightly farther forward, not by surviving a longer hold with worse alignment.
Stage 3: frog stand or tuck support
A frog stand can introduce balancing with the feet off the floor, although the bent-arm and knee-supported shape is not itself a straight-arm planche. Use it to learn balance, then return to straight-arm work.
For a tuck planche, draw the knees toward the chest, keep the hips level with or slightly above the shoulders, and lift both feet only after the lean feels stable. Use short holds you can exit deliberately.
Stage 4: advanced tuck
Open the hip angle while keeping the knees bent. This lengthens the lever. Do not chase a flatter back by losing shoulder protraction or bending the elbows.
Use clusters of brief clean holds with full rest. Count only the seconds that match your checkpoint standard.
Stage 5: straddle and full-body variations
Straddle work lengthens the body while reducing the lever compared with legs together. Narrow the straddle gradually only after the shoulders, elbows, and pelvis remain consistent.
Full planche attempts demand more than one drill. Maintain straight-arm strength, pressing strength, trunk control, and suitable recovery. General resistance-training guidance from the American College of Sports Medicine supports progressive loading and recovery; it does not provide an individual planche prescription.
Choose the right weekly dose
Put planche practice early in a session, after a thorough warm-up and before fatigue changes the position. Two or three short exposures can work better than one long grind, but your training history and recovery determine the right frequency.
Stop a set when the elbows bend, the shoulders collapse, or the exit becomes uncontrolled. More failed seconds do not create better position data.
A readiness rule
Before you advance, complete several sessions in which you can enter, hold, and exit the current progression with the same shoulder and elbow position. If the next variation immediately changes those checkpoints, return to the previous stage and adjust the lean or leverage by a smaller amount.
For supporting skills, review the handstand guide and L-sit progression.